tl;dr
昔, 以下のようなブログを書いていました.
7 年経って vagrant はまだ健在. 良いプロダクトは時を超えて使われ続けるんだなあと. ということで, 改めて macOS 上で vagrant で仮想マシンを立ち上げたのでメモしておきます.
環境
$ sw_vers
ProductName:    Mac OS X
ProductVersion: 10.14.6
BuildVersion:   18G3020

$ vagrant version
Installed Version: 2.2.7
Latest Version: 2.2.7
VirtualBox のバージョンは バージョン 6.1.6 r137129 (Qt5.6.3) となります.
Vagrant のインストール
上記のサイトより, 環境に応じたインストールパッケージをダウンロードしてインストーラーに従ってインストールするだけです. 2013 年の記事では, gem install していたことを考えると敷居が少し下がった感じです.
起動したい仮想マシンイメージを探す
2013 年の記事では, 以下のサイトからマシンイメージを探していました.
ですが, 現時点では,
Discover Vagrant Boxes よりイメージをしました.
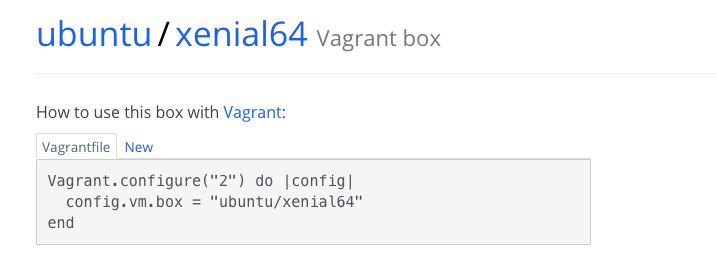
例えば, Ubuntu 16.04 (ubuntu/xenial64) を検索すると, 以下のように Vagranfile のサンプルまでサジェストしてくれるので有り難いです.

Vagrantfile の作成
ドキュメントによると, vagrant の始め方としては vagrant init で Vagrantfile を生成するところ書かれています.
vagrant init で生成される Vagrantfile には多くの貴重な情報が書かれていて, Vagrantfile を書く上では非常に参考になりますが, 今回は, 以下のように最小限の Vagrantfile を直接作成して始めました.
$ mkdir project1
$ cd project1
$ vim Vagrantfile
以下の内容で作成します.
Vagrant.configure("2") do |config|
  config.vm.box = "ubuntu/xenial64"

  config.vm.provider "virtualbox" do |vb|
     vb.memory = '512'
  end
end
仮想マシンの起動
あとは, vagrant up で仮想マシンを起動するだけです.
$ vagrant up
しばらくすると, 仮想マシンが起動するので vagrant ssh でログインします.
$ vagrant ssh
Welcome to Ubuntu 16.04.6 LTS (GNU/Linux 4.4.0-177-generic x86_64)

 * Documentation:  https://help.ubuntu.com
 * Management:     https://landscape.canonical.com
 * Support:        https://ubuntu.com/advantage

 * Ubuntu 20.04 LTS is out, raising the bar on performance, security,
   and optimisation for Intel, AMD, Nvidia, ARM64 and Z15 as well as
   AWS, Azure and Google Cloud.

     https://ubuntu.com/blog/ubuntu-20-04-lts-arrives


0 packages can be updated.
0 updates are security updates.

New release '18.04.4 LTS' available.
Run 'do-release-upgrade' to upgrade to it.


Last login: Sun Apr 26 01:28:56 2020 from 10.0.2.2
vagrant@ubuntu-xenial:~$
おっしゃ.
以上
素敵な VirtualBox 生活をお楽しみください.